Basic Segmenting
There are three steps to a successful segmenting project.
- Design the piece first and lay out the plan.
- Cut and prep each segment accurately.
- Assemble accurately.
Step 1
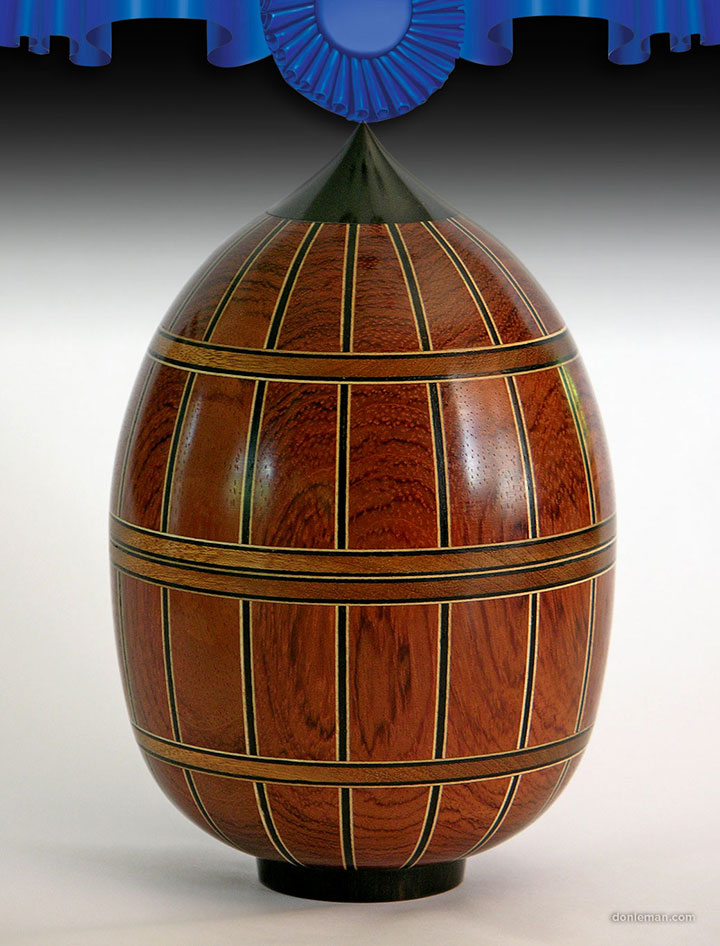
Lay out a plan and design the piece first! You must decide the basics before cutting ... the number of segments, number of rings, and the diameter of each ring … height, diameter, shape, etc. Pictured is an example. You can accomplish this profile with pen, ruler, and graph paper or one of the available computer programs on the market today.
SegmentedWoodturners.org is hosting its biannual symposium in San Antonio TX in Oct 2014. Three of the computer programs will be presented in depth. Download a symposium brochure for more information.

Step 2
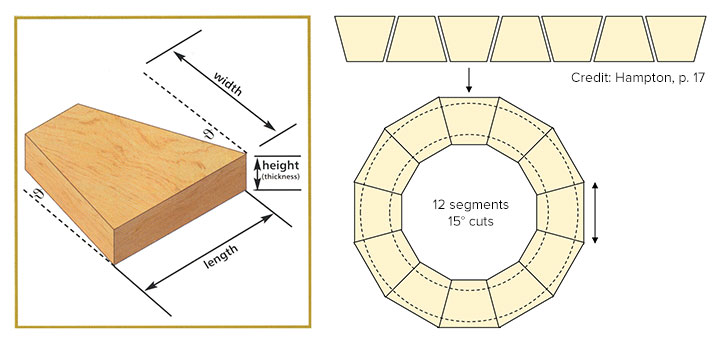
Now, how long do you cut each segment? The length of each segment determines the diameter of the ring. Longer segments yield a larger diameter ring. Download the printer-friendly handout for two methods of determining the length of the segments.

Step 3
I use Titebond Original for my glue-ups. Butter each side of the segments, clamp with the method that suits you best, and let dry completely. Ensure each ring is clean and flat, butter each ring, clamp with the method that suits you best, and let dry completely. The resource materials below will provide further information about this step.
My Tools - Precision Counts
Two things are important to me - precision and good tools. I have a small shop, so here's another case of where size matters.
I prefer the Powermatic 3520B lathe. It is powered by a 2-horsepower, 220-volt, variable speed motor.
For cutting the segments - Followers will remember when I used a Shopsmith and an Incra 5000 sled. That set-up provided good accuracy, but now I use a Festool Kapex KS 120 Sliding Compound Miter Saw. It is more accurate, takes up less space, and nearly eliminates all sanding. I also have the Festool CT 33 E HEPA vacuum that attaches directly, eliminating much of the sawdust throughout the workshop.
After selling the Shopsmith, I bought a small DeWalt DW745 10" Compact Job-Site Table Saw. It makes short work of my occasional cut-offs.
My thickness planer is the DeWalt DW735 with inboard and outboard tables, and DW7350 Planer Stand with Integrated Mobile Base. Although not required for segmenting, it is good for rough-planing planks before running them through the drum sander.
For final dimensioning, I use a PerformaX Drum Sander 16-32 Plus. Jet bought the PerformaX line, so the similar item today would be the Jet 629004K 16-32 Plus. I also use the infeed and outfeed table kit #98-1601 to help eliminate sniping.
My band saw is the Jet 14" Deluxe Pro Band Saw, Model JWBS-14DXPRO. It takes up little floor space and, with the addition of the mobile base, it rolls out of the way. It's a good machine for the price.
I use a Jet JDS-12B Benchtop 12" Disc Sander with stand and dust collector.
For ambient air cleaning, the Delta 50-875 helps to remove microscopic dust particles from the air.
Resources
Books - Closed Segmenting
- Hampton, Ron. (2003). Segmented turning: A complete guide. East Sussex, England: Guild of Master Craftsman Publications.
- Nish, Dale. (2004). Woodturning with Ray Allen: A master’s designs & techniques for segmented bowls & vessels. East Petersburg PA: Fox Chapel Publishing.
- Tibbetts, Malcolm. (2005). The art of segmented woodturning: A step-by-step guide. Fresno CA: Linden Publishing.
Books - Open Segmenting
- Smith, William. (2002). Segmented wood turning. Atglen PA: Schiffer Publishing.
Software
- Woodturner Pro, available from woodturnerpro.com
- Lamination Pro, available from woodturnerpro.com
- Segmented Project Planner, available from verifiedsoftware.com

